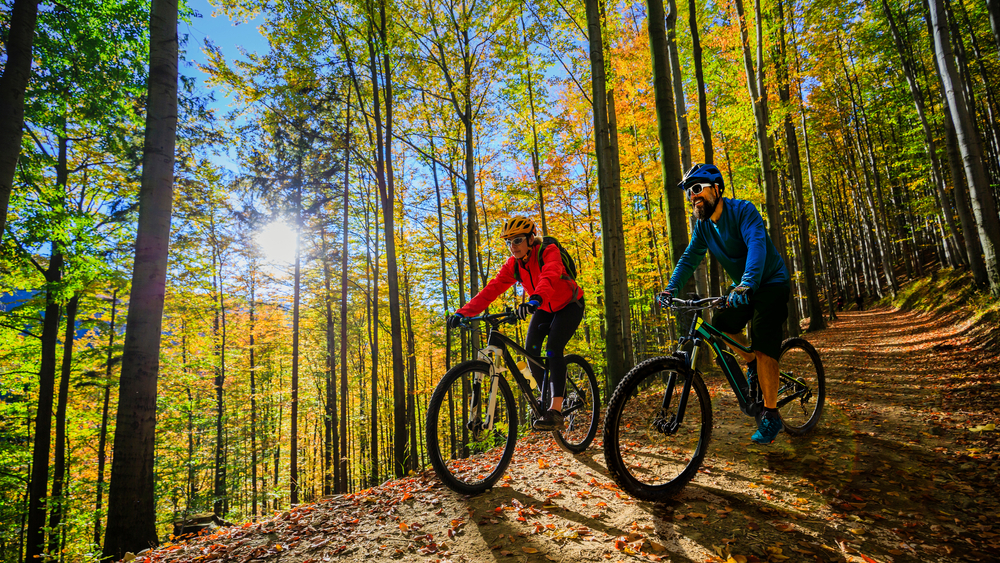
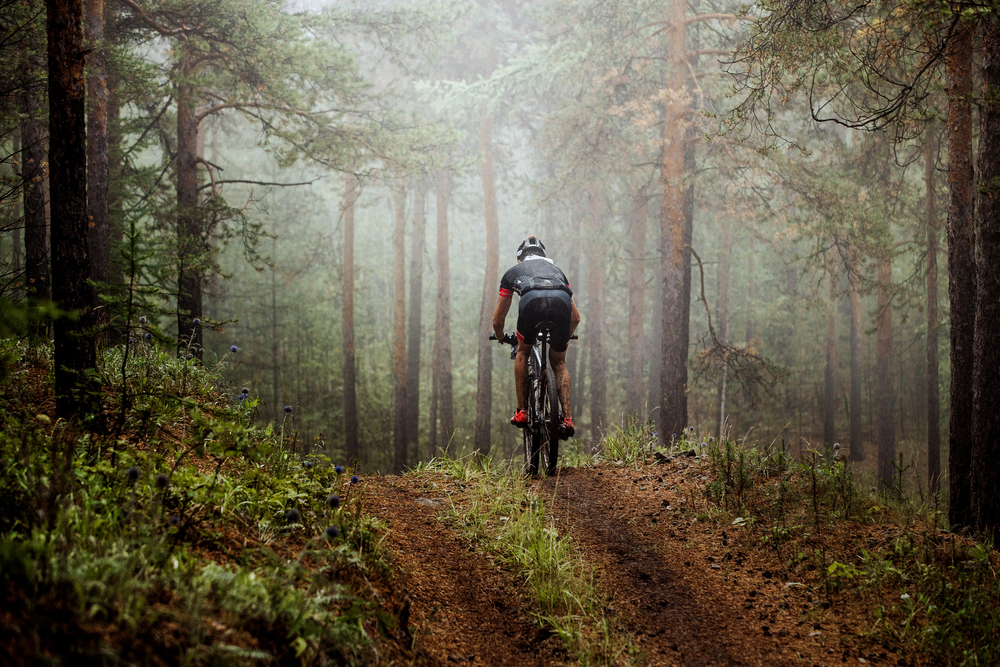
Mountain biking is a thrilling activity enjoyed by many around the world. If you’re just starting out, you’ll need a lot of stamina, practice, and courage to attempt offroad biking.
We’ve put together this guide with nine beginner tips for mountain biking to help you learn all the basics. Once you get out of your head and learn the moves, you’re sure to enjoy the exhilaration of mountain biking.
This sport requires practice and patience as you build your stamina to handle the high-intensity nature. So, don’t feel bad if it takes you a few months to manage the trails.
Mountain Biking Tips for Beginners
When you first start mountain biking, you may feel intimidated by the skills of other riders. Watching them jump logs, hop cliffs, and barrel downhills is enough to make you wave a white flag of surrender instead of attempting these daring feats yourself.
But before you give up, try these nine mountain biking tips for beginners. You may find yourself surprised at what you can do if you set your mind to it. No guts, no glory!
1. Establish Your Starting Point

Before you can start taking your mountain bike on difficult terrains, it’s best to figure out your skill level. Are you familiar with how to operate the gears on a mountain bike? Do you know how to engage the brakes properly and when?
You’ll also need to consider your current stamina level. Mountain biking can be extreme, and it’s not a hobby for anyone who’s out of shape or with low energy. If you get winded going up a flight of stairs, you may not be ready to attempt mountain biking.
But just because you’re not currently ready to hit the trails doesn’t mean you should give up your dreams of mountain biking. It just means you’re going to need to take some time to build up your exhaustion resistance and stamina, which brings us to step two.
2. Build Your Base
Mountain biking requires endurance, stamina, and fitness. Before you head out on an extended trip into the wild with your mountain bike, you need to take the time to build your base.
When you build out your base, you’re improving your stamina and endurance, so you can better handle the demands of true mountain biking.
For those who have a low exercise tolerance, you should devote four to six weeks base-building with low-intensity training before attempting to move on to the advanced tasks of intensity and speed.
An ideal schedule would be to have three to four sessions each week, with the sessions lasting one to two hours each. Extend your time once you’ve built up a tolerance to your current goals. And be sure to replenish your body with fuel from healthy foods, like whole grains, fresh veggies or fruits, and foods with minimal to no processing.
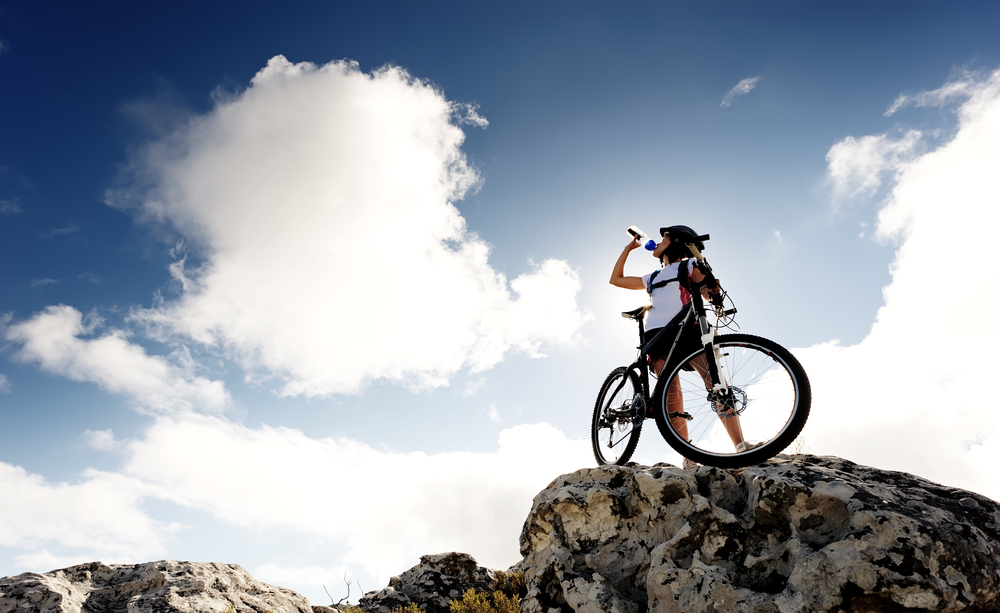
And most importantly, remember to hydrate with electrolytes throughout your ride continuously. For trips that last more than an hour, you’d need a nutritious snack, like an energy bar, to go with your hydration for maximum energy consumption.
3. Add Intervals to Rides

You should never jump straight to doing intense mountain biking. It’s better to build up your tolerance for this type of brutality with weeks of base building.
Once you’ve spent a month base building and had a week of dialed-back activity to recover from your training, it’s time to take things up a notch by incorporating intervals into your rides.
For the first two weeks after your base building, take a 30-minute warmup ride. Then switch to an intense activity for five-seconds, and then spend 10 to 20 seconds to rest. Repeat this process five times and then take a more extended break.
After you’ve spent a few weeks doing this interval schedule, you can begin a new interval schedule. For these, you’ll spend 20 seconds doing high-intensity efforts, then ten seconds of rest.
Once you’ve used this method for two to three weeks, it’s time to replace a short workout for a longer session starting at five minutes and working your stamina up to twenty-minute intervals.
4. Keep Arms & Shoulders Loose
When mountain biking, it’s crucial to keep your body relaxed and loose, especially in your arms and shoulders. When you’re relaxed, you’ll find that your bike is easier to handle.
Hitting rough obstacles and uneven terrain can cause stiff joints, pain in your muscles and bones, and rattle your teeth. But when you keep your form loose, you won’t feel as much discomfort because your joints become extra suspension.
There are two tips to remember when riding a mountain bike on rough, unforgiving terrain.
Keep your chest low to the handlebars, making it easier to steer and lowers your center of gravity. This position will make your shoulders and elbows loose and more comfortable.
Your body should move independently of your bike. While your feet and hands should always stay on the pedals and handlebars, your legs, arms, and hips do not have to stay on the bike. Moving your body independent of the cycle gives you better control through turns, improves your speed, and builds confidence.
5. Practice Your Form
It’s a good idea to practice your form so that you can build muscle memory. Once you get used to holding the proper positions, it’s easier to react naturally while riding.
Riding on flat stretches of land or up and down slight inclines will let you work on holding the right positions without putting you at risk if you fail. Once you’re comfortable with your skills, you can move on to practicing in more demanding situations.
6. Master Your Front-Wheel Lift
There will be multiple midsize obstacles you’ll encounter during your mountain biking trips on flat or on slopes while going downhill. Learning how to do a front-wheel lift allows you to clear these obstructions without having to slow down or divert around them.
The front-wheel lift consists of three motions to perform correctly to get your bike over the obstacle. These movements are load, explode, and lift.
To perform a front-wheel lift, start by approaching the obstacle (anything lower than hub height) at the “ready” – knees and elbows bent actively, eyes looking straight ahead, and standing in a neutral position with your feet balanced for equal distribution on the pedals.
Step 1: Load the Handlebars
Your first step is to compress the front shock by aggressively bending your elbows and loading your handlebars. To load them, you push your upper body away from the handlebars. With your feet, launch the pedals away from you in a forward push.
Step 2: Explode Your Arms
As you feel the shock release, force your arms straight with intense power. Some bikers say it would feel like a clap push-up. Pull your hips back away from the handlebars, so your weight settles near the back wheel. Extend your legs fully.
Step 3: Lift the Handlebars
The explosive movement of your arms should cause the front tire to lift off the ground. As you feel the tire get air, pull up on the handlebars with your elbows bent. This movement will cause the front wheel to get higher. Once it clears the obstacle, the back wheel will too.
It’s crucial to get the timing right so that you clear the obstacle instead of hitting it. Your speed will affect your timing, so you may need to get a lot of practice doing front-wheel lifts without obstacles first.
7. Practice on Obstacles

When you’re just starting with mountain biking, it can be terrifying to come hauling down a hill, only to see a small log on the path. Panic may cause you to hit the brakes or try to divert around it.
But when you get experience and confidence, you can clear these obstacles without thinking about them. Your body will naturally perform the actions because it’s become a habit. To train your body to react, you’ll need to get lots of practice.
Try doing the front-wheel lift on smaller, less intimidating objects first. Practicing on a sidewalk curve is a great beginner move, as there’s enough height that you’ll need to lift the wheel but not enough to terrify you or cause significant injury during wipeouts.
You can also place a small stick in your path and approach it as you would a large log. You can use this method to see how high you can get your wheel. But you won’t have to worry that you’ll hit the obstacle if you don’t go high enough. Try this on a flat or slightly hilled path.
Another thing you’ll want to get plenty of practice with is shifting gears. The more you do it, the easier it becomes to perform naturally without recalling the process.
8. Get the Right Equipment
Picking a mountain bike is a very personalized decision. It’s not a good idea to choose the most popular bike so you’ll fit in with the crowd.
You need to find a bike that fits your needs, including your riding style, experience level, height, weight, and arm and leg length. Getting a bike that isn’t custom to you can result in discomfort while riding and hindered performance.
Mountain bikes have a shorter cockpit, which means you’re closer to the handlebars. If you don’t try your bike on for size first, you could end up with a bike that strains your arms and shoulders due to improperly fitting handlebars. You sit in a more upright position on a mountain bike than you would a road bike.
These handlebars are also wider than road bikes. Since your hands will be gripping the handles with intensity during your ride, you need to ensure you’re comfortable with the size and feel of your bike’s grips.
9. Recovery is Key
Building up the stamina and energy needed for the high-intensity demands of mountain biking can take weeks. As much as you may want to push yourself to get there faster, it’s not a wise idea.
Your body can only take so much abuse, which is why you should build up your stamina before attempting a high-skilled mountain biking trip. Allowing your body time to recover from the abuse it’s not used to is as important as doing endurance training.
When you work your body too hard, it doesn’t make you stronger without giving enough time for rest. You can end up with injured muscles, reduced energy, pain, and discomfort.
To stay safe and healthy, get plenty of rest and recovery after you’ve completed high-intensity training or trips.
Hi,
Can you please tell, from upside down, image number 4, which mtb park is this?